As we work on replicas of designs from game and comic artists, the colors are set and in most cases the main aspect to get recognized as this character later.
Some colors are really hard to find if they are not totally "in" in actual fashion, so we have to dye.
i always have a problem to find a lavender fabric, or purple in general. so i had to dye for these:
For Psiana, i dyed both different fabrics i used for this with the same method.
before sewing.
That was good, because the first dyeing went awfull speckled. Always count in more time, in case of trouble!
Issuns purple clothing was easy dyed this way too, but then i dyed the brown top of pams with curcuma and curry, to get a tone closer to caramell.
I DO NOT RECOMMEND THAT!
yes, you can dye with curcuma/curry, it works and stays. but if you have parts directly on the body, the color reacts on humidity and it leaves a stain which is not removable!
Dyeing real hair otherwise works fine, but it leaves a smell of curry on it and you´ll be always hungry.
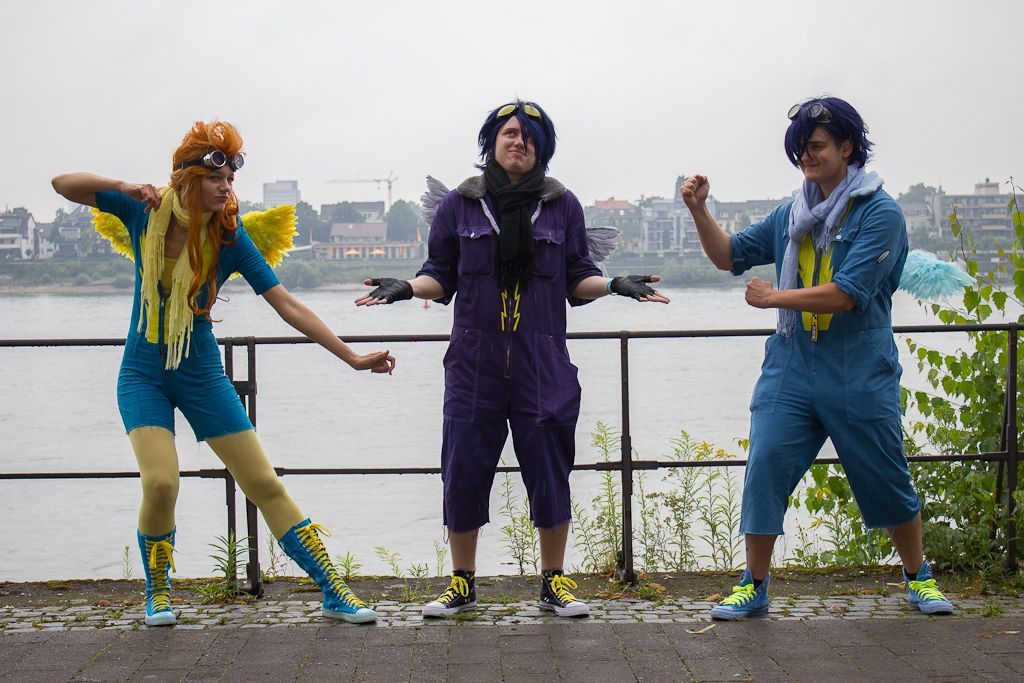
like Gchan,because we used the dyed Streaks in her Spirfire-wig:
 |
| Gchan as Spitfire - photo taken by muhdiekuh |
Back to relative colors.
above you see the Spitfire costume, now, look at the show-original:
now back to me. The colors seem pretty much alike, also, when you meet her on a convention, you wouldn´t know the difference, but in fact, her overall is just a tad darker to be richer in color and a better contrast to her hair. ;)
it is subtle but it works wonder.
The overall was also dyed before in two packs "azure blue" from marabu batik colors. The fabric got a really nice shade, but still gives off color a little on arms and legs. even though i washed it out until the water was clean. u.u"
Here are my general tips for dyeing:
- don´t do it if you are on short time/can avoid it.
- dye the fabric before sewing, so you can avoid spots while cutting the pattern.
- coloring in the washingmashine costs more and it is hard to observe if the color is coming out right, but i never got splochy results in the end.
-dyeing in buckets gives you more control in the change of color, but it gets spochy very fast.
- use a bucket big enought!do not cramp the fabric together.
- let it be soaking wet before putting the fabric in the dye-water.
- use gloves!
- weight the fabric and calculate how much dye you need if you want a darker tone!
the horror in dyeing
Dye die!
the worst case is, when you try to get a color you´ve dyed before on a different material, because, for example, the uniforms need to have the same shade.
for example:
do not try to do this! even if you try to get a familliar shade, it cost you days of test dyeing, drying, dye removal and plenty of money for different dyes.
it won´t leave you sane.
also, darker tones tend to need more dye, always count that in when you plan your budget.
oh yes, and i always manage to still get my hands dyed.
it´s pretty cool if you need a long lasting zombie make-up, but you need to scrub your skin off (literally), if you want to work the next day, visit a convention, e.t.c.
But anyway, you cat will still love you.
♥
Wig dyeing
You want to cosplay a character who has 6 different haircolors?
an extravagant fade to purple tips on a white wig?
no problem!
dye your wig!
there are different techniques out there how to dye a wig, i always use the first, the slowest method but feel free to experiment!
the color tends to rubb off of long wigs when you color darker colors.
"streak by streak by hand" method
Get a light blonde or white wig as a base. i can recommend these german shops on Evilbay:
Kalz Shop
vkeventfashion
do not get regular party wigs from the big stores, most are produced whithout quality control, adapt color barely and look quite shiny and unnatural. but more about that in the wig-post.
cut your wig in the hairstyle you need.
now seperate the area you need and pin the hair you wont use up.
now start with the lowest row (like in the neck) and draw with a mrker over the streack a few times, then quickly rub it between thumb and finger to spread the color even on the whole streak. if a spot stays in the original color, draw over it and repeat.
this takes a while and your hands look like a mess afterwards. be sure to clean them before you touch anything else.
but i got my keyboard and bathroomdoor clean every time again. *cought*
these wigs have been colored with this technique:
celestia by venchen
Venchen even did a fade in celestias hair, which means she had 8 colors in total! her wig ist amazig.
the spray method
i haven´t tried that one jet, but its similiar to the streak by streak method.
you prepate the wig like before, but you dissolve the markers ink in alcohol and them spray it on the part you wish to color.
this may take a few "rounds" and you may need to wash the wig before wearing because of the unsettled color.
the same shall work with thinned down acryl paint, but i have no expierience with it!
this wig was made with the marker-spray method:
for a tutorial, you can visit:
firelilycosplay: Sharpie-Wig-Dyeing-Tutorial
pixiekitty.net
As german equivalent for sharpies i prefer alphamarkers. they arent sticky as copics when you work with them and a bit cheaper. ;)
this technique also works great if you have a one-color wig and want to bring more depth in it by adding some subtle streaks.
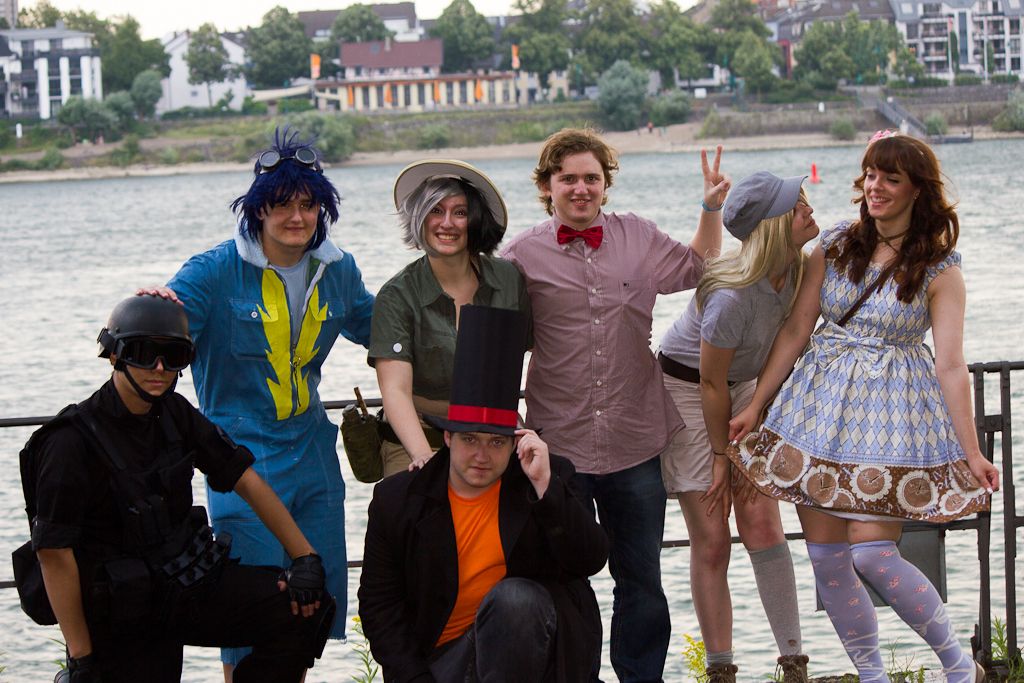
like on psiana for example:
Psianas inner ears are dyed with a marker too, that gave them a quite fluffy look.
that´s it so far.
if you have any questions or critique, a helpfull link, whatever, feel free to contact me. ;)


